I’m excited to kick-off another Pro-Follow and to introduce you to a new pro named Danny Riter. Danny is a hardwood flooring contractor and owner of Signature Hardwood Floors Inc. Danny brings more than 20 years of experience in the industry, and he’s very knowledgable. I hope to bring you more Pro-Follows with Danny in the days to come. For this project, the homeowners have brought Danny in to replace a tile kitchen floor and refinish the existing hardwood floors to match.
If your interested in learning more about installing hardwood flooring, follow that link to see our Project Guide for full details.
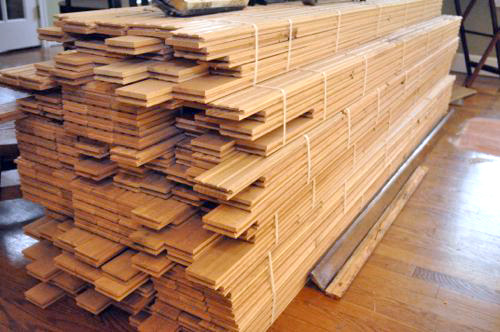
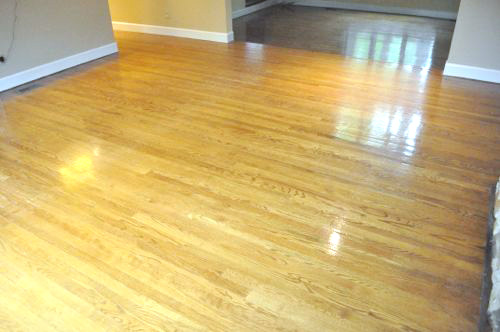
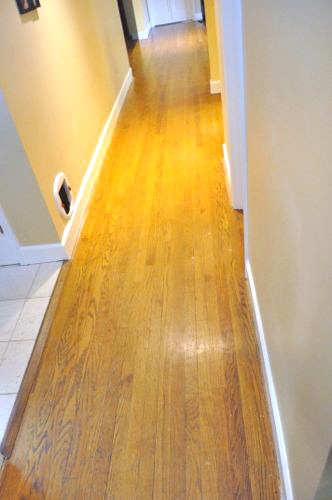
Danny’s crew will be refinishing a sizable area including three rooms, a hallway, laundry room and several closets. The old floor is a 3/4″ x 2-1/4″ oak, and it’s in fairly good shape. The guys will sand the existing floor down and finish everything (old and new) together for one, consistent look.
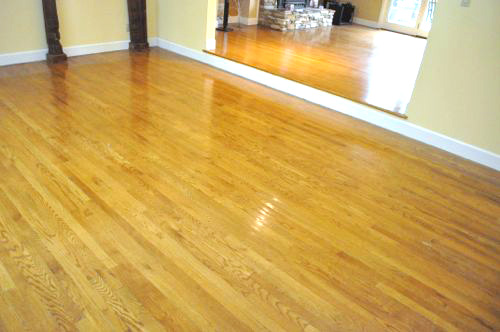
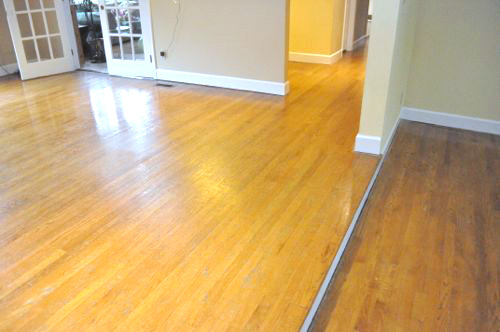
If you look closely, you’ll notice the shoe molding has already been removed in these pictures.
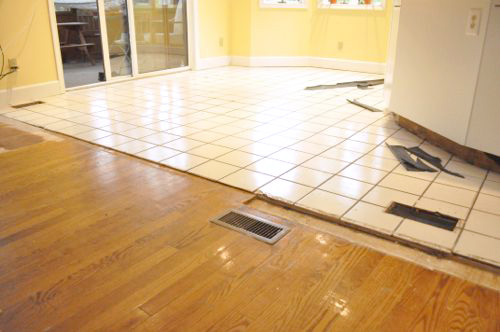
Danny’s crew is taking up the kitchen tile and the two layers of plywood underlayment before laying the new boards, and I’m excited to see how they blend the old and new floors.
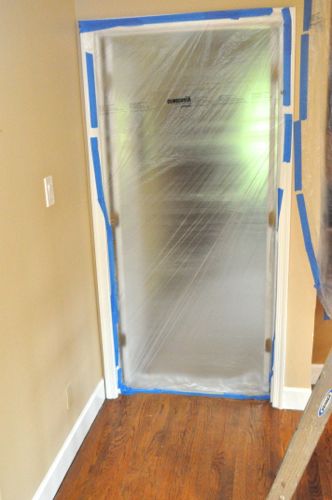
Step 1: Setup Plastic Barriers
Refinishing floors can create a significant amount of dust so before any work began, Danny’s crew covered just about everything in plastic.
Pro-Tip: Change your furnace filter after refinishing your floors.
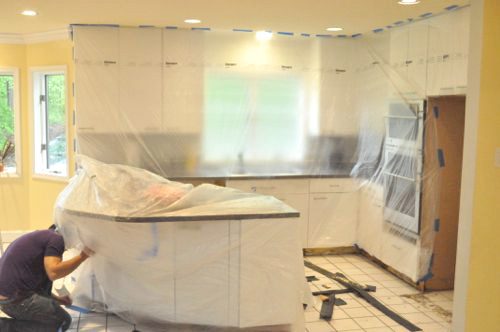
These guys were thorough, covering doors, light fixtures, shelves, cabinets, the fireplace, and more.
Step 2: Demo
After the plastic was setup, the guys got started on removing the old tile floor.
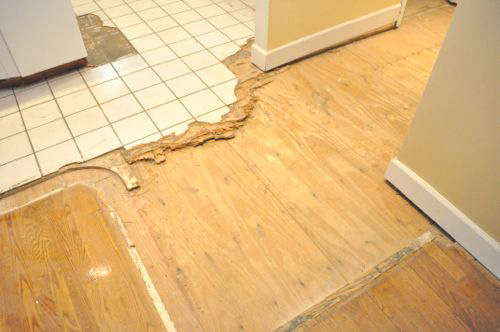
When possible, they removed large sheets with the tile still fixed in place.


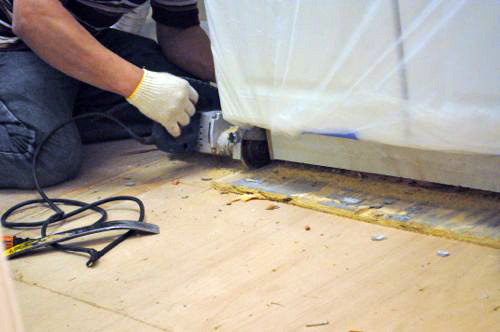
Some of the plywood extended underneath the cabinets. Rather than pull up the cabinets, Danny’s crew used a handy flush-cutting circular saw to cut through the plywood.
It was slow going but eventually the tile floor was completely removed. As the guys cleaned away debris, they were careful to remove or pound in any protruding nails.
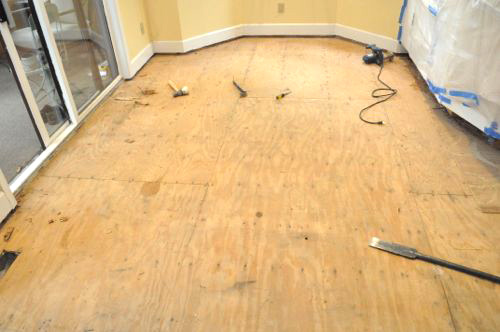
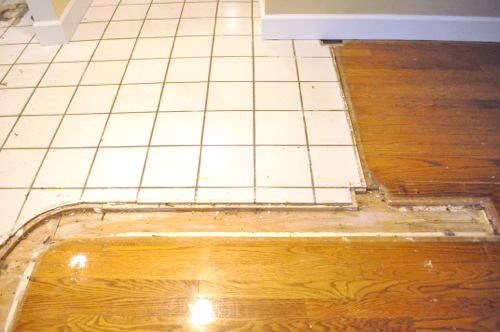
Step 3: Remove Some Floorboards
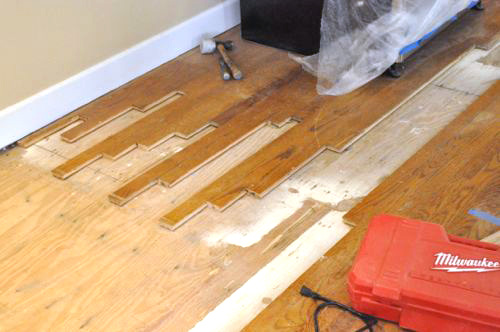
To seamlessly transition between the old floor and the new floor, the guys need to remove specific floorboards to be able to thread in new ones. Otherwise, the guys would have to incorporate an ugly transition strip.
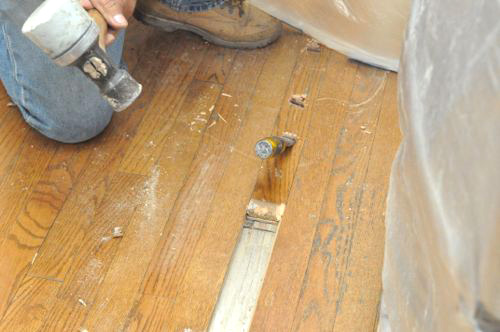
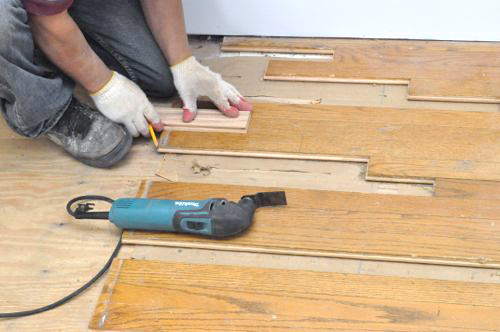
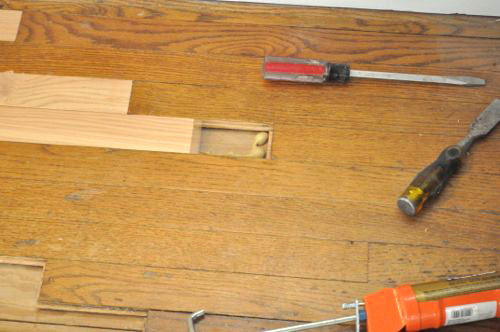
There’s a couple of different ways to remove a single floorboard. For instance, you can set a circular saw to the appropriate depth and make a series of cuts until there’s enough room to pull the board free. In the picture below, one of Danny’s crew is using a hammer and chisel to slide a board out, and as you can imagine it takes a lot of pounding.
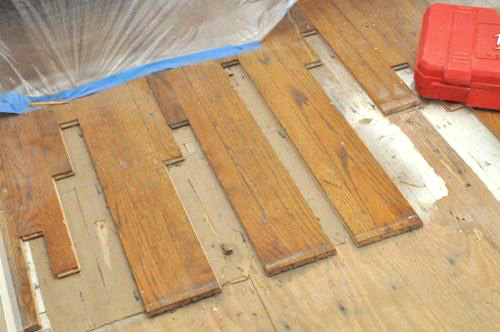
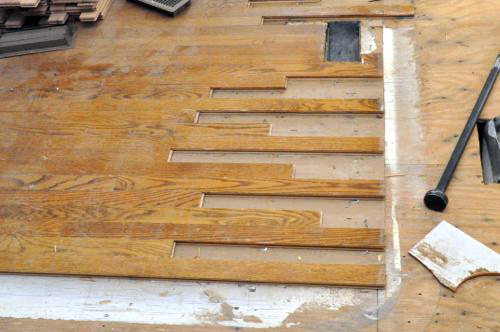
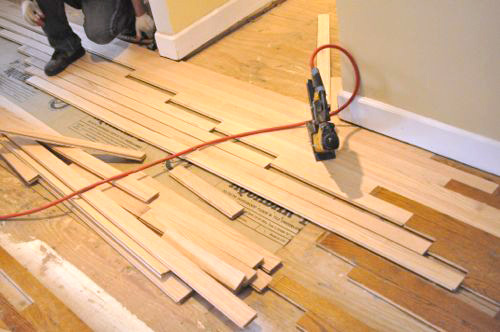
You can see how Danny’s crew is removing floorboards enough to stagger the joints.
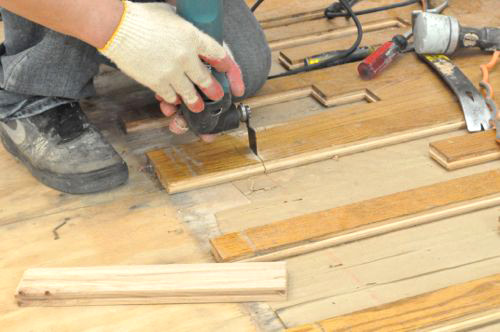
In a few instances, the guys used an oscillating multitool (OMT) to carefully cut a board and create a new joint.
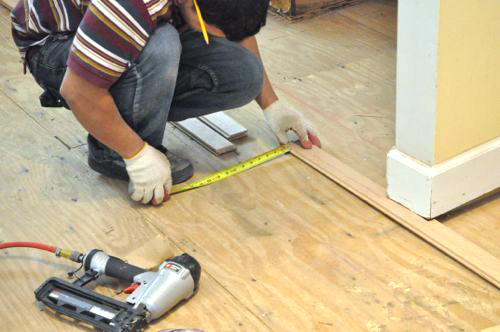
Step 4: Begin Laying New Boards
Next, Danny’s crew measured and snapped a chalk-line to provide a reference point. The guys setup the first new board and measured the distance to the chalk line to ensure it was straight.
Pro-Tip: Be sure to let the new board fully acclimate before installing.
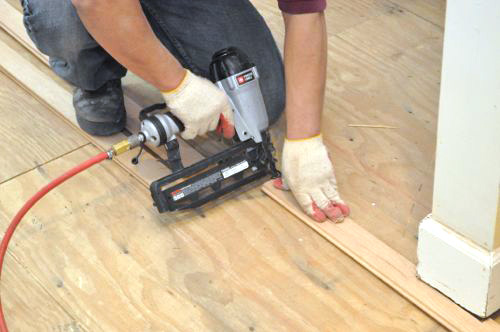
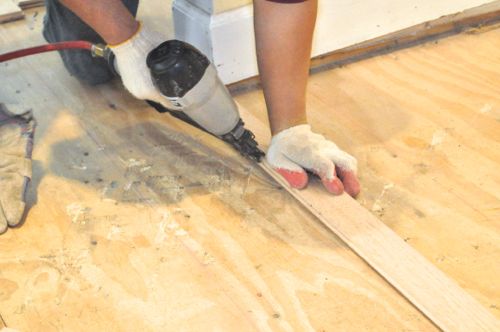
After they lined everything up, the guys toe-nailed the first board with a finish nail gun and 16ga, 2″ nails.
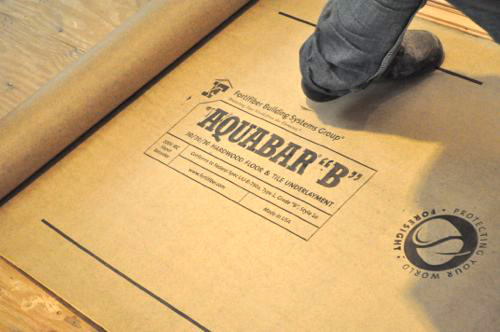
Step 5: Unroll Underlayment
Underlayment reduces squeaks and creates a vapor and moisture retarder. The guys used Aquabar type B underlayment.
Step 6: Continue Laying Boards
Danny’s crew continued laying boards in the field, threading them between the existing floor boards. After three rows, the guys were able to break out a Bostitch flooring stapler to anchor the boards.
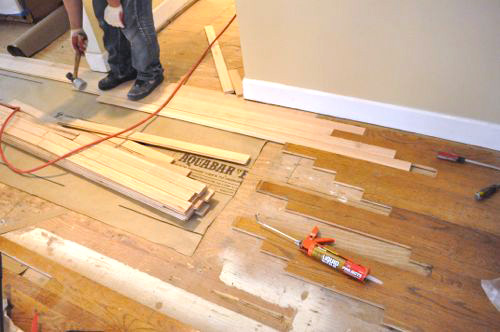
Where a new board was directly against an old floorboard (and therefore only able to place a few staples on the open end), the guy used a dab of construction adhesive to help lock it in place.
In this way, the guys began laying new floor boards and “weaving” them in with the old flooring.
On the next Pro-Follow I’ll be covering how Danny’s crew sanded the existing floor to make it look like new so stick around!


