I’m back with another Pro-Follow update, and today’s article focuses on waterproofing a leaky deck ledger board. A few years ago, Fred and Kim had their small deck replaced with a much larger one. It’s a beautiful deck. Unfortunately, the contractor did not properly flash the ledger board, and Fred discovered a leak in the basement. If you’re a regular reader, you know that Fred and Kim have hired Joe Bianco to remodel the basement, and part of that remodel is to permanently address the leaky ledger board.
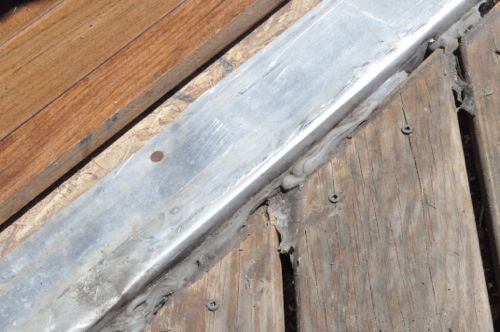
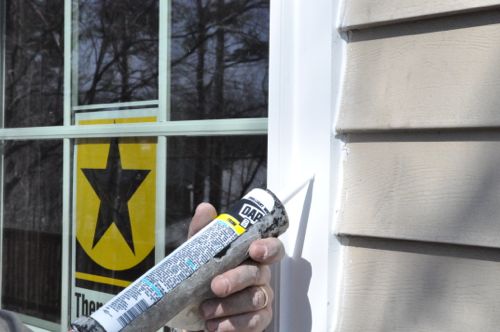
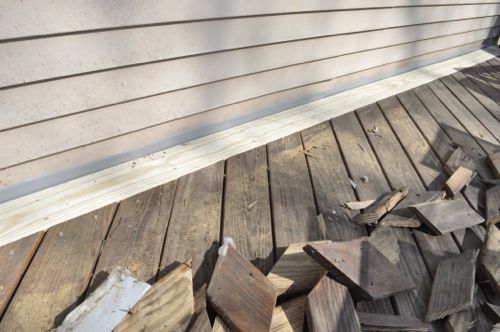
When the deck was built the contractor should have at least installed metal flashing above the ledger board (not to mention a waterproof membrane behind the ledger and silicone on the bolt heads). This didn’t take place, and Fred found a leak where the old deck was situated. As a temporary fix, he loaded the area with silicone to divert water away from the house, and it worked. Now Joe is providing a more permanent solution.
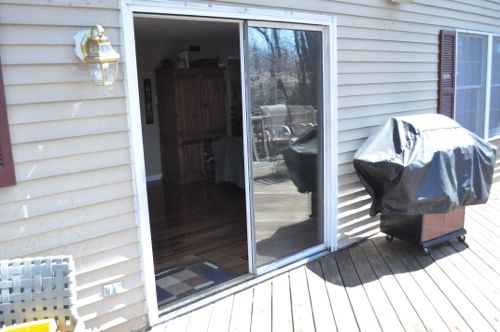
Step 1: Replace Old Sliding Glass Door
Fred and Kim are having the old sliding glass door replaced as well. It’s not part of the problem, but this was an ideal time to remove the old slider and install a new one. If you’re considering replacing a patio door, click that link for a detailed tutorial.
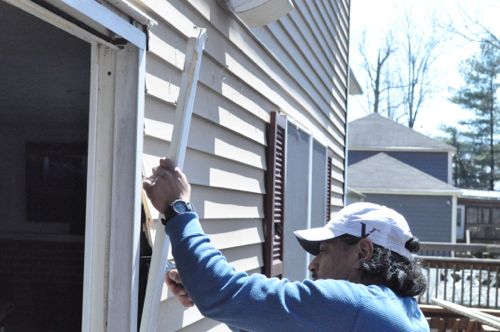
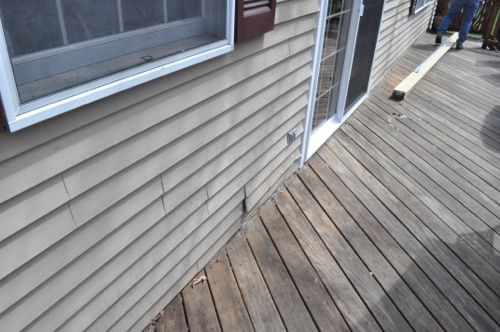
Joe and Frank removed the old door, frame and sill plate.
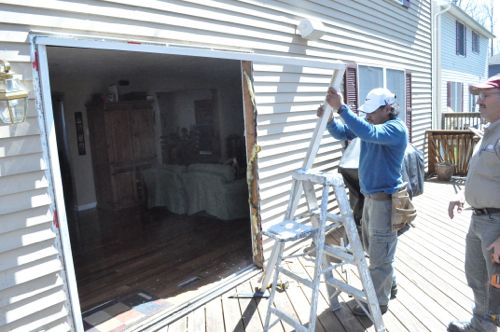
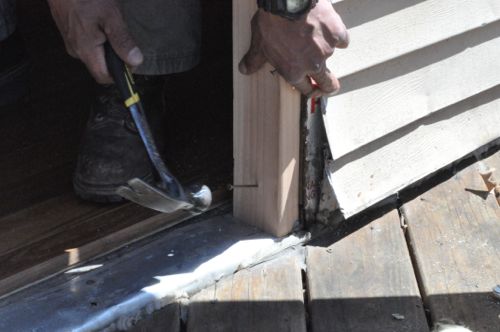
You can see the door was flashed so that was not the source of the leak. This picture also shows the silicone Fred used to seal the top of the ledger board.
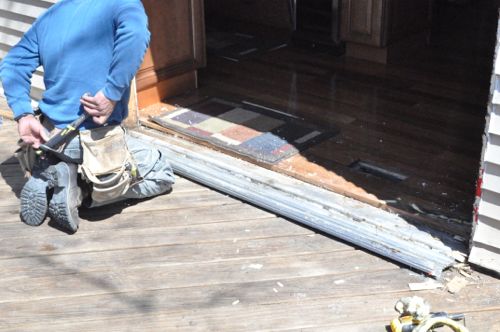
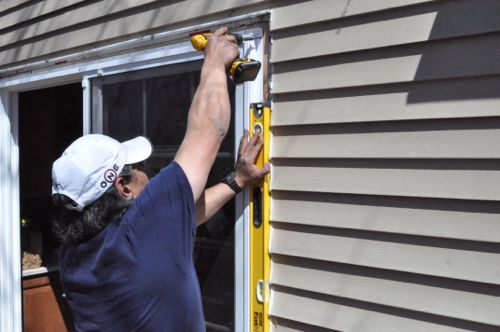
Joe and Frank framed out the rough opening, sealed the sill plate with waterproof adhesive moved the new door into position.
They leveled the door and screwed it into the rough framing.
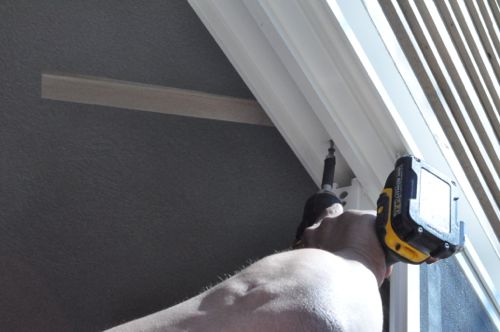
Next, the guys trimmed the door opening with PVC boards.
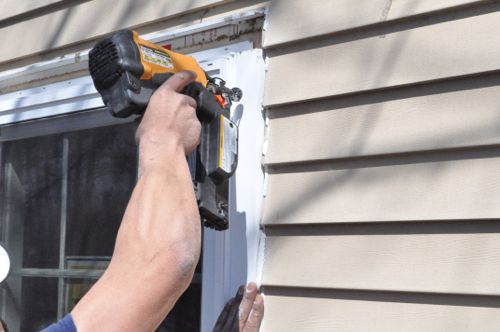
With the door (mostly) finished, the guys moved on to address the deck.
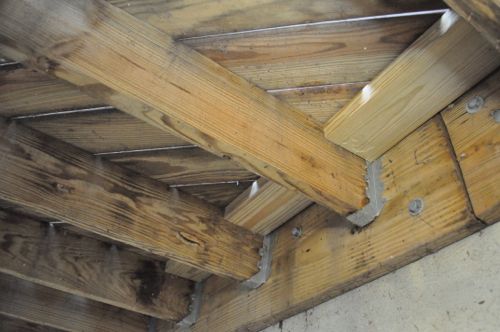
Step 2: Block Underside of Deck
When Joe’s crew did a little framing inside the basement, he also had them add blocking between all the deck joists.
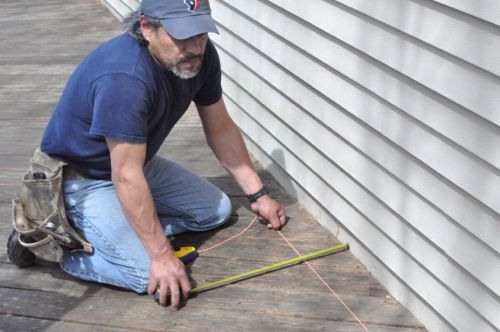
Step 3: Measure Board Width Off Siding
Next, Joe and Frank measured off a board width from the house and snapped chalk lines.
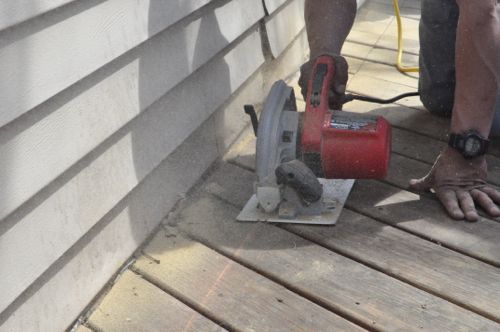
Step 4: Cut and Remove Deck Boards
Frank set his circular saw just deep enough to cut through the deck boards, and he made the cut along the entire length of the deck.
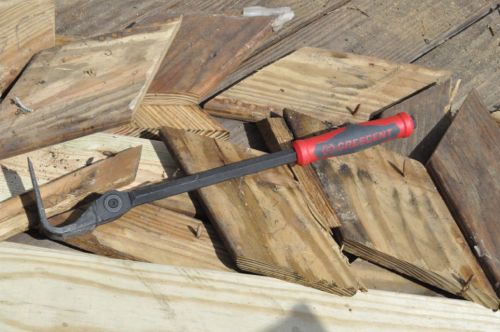
The guys used this Crescent 18″ indexing pry-bar to pull up all the pieces, and it was perfect for this.
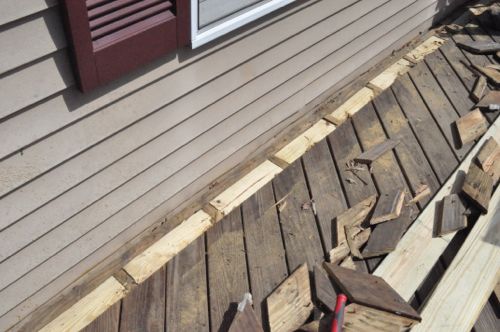
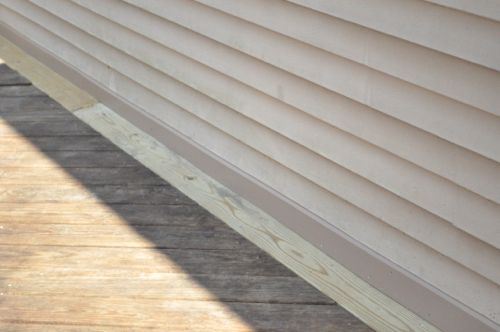
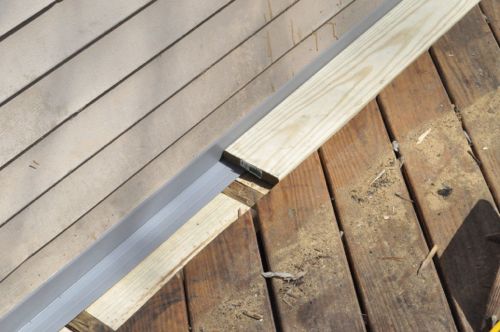
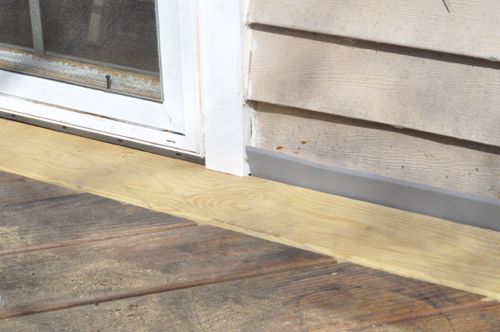
Step 5: Fit New Flashing
Next, Joe and Frank fit new flashing along the house, overlapping with the door flashing.
They also put the new deck boards in place.
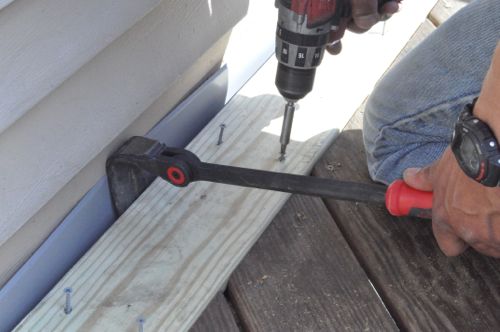
Step 6: Screw New Deck Board
Joe and Frank screwed the new deck board and the old deck boards to the blocking underneath.
Pro-Tip: All the fasteners are rated for exterior use.
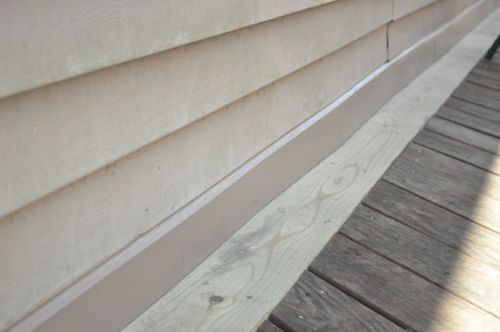
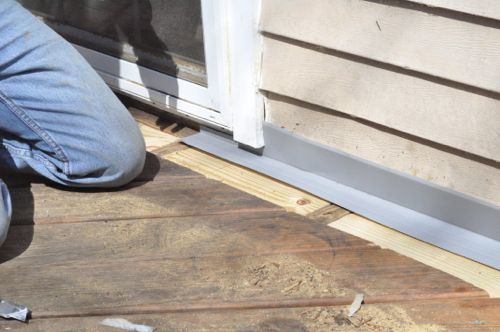
Step 7: Cut and Screw PVC Board
Next, the guys cut a chamfer on some PVC board and ripped it to fit just underneath the previous course of siding.
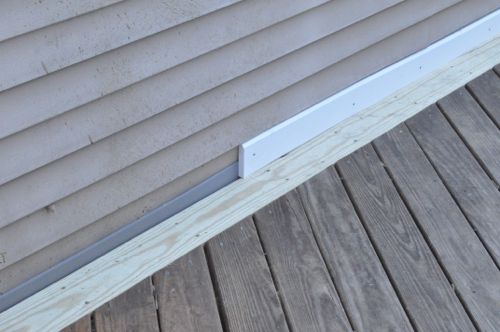
They screwed the PVC in place.

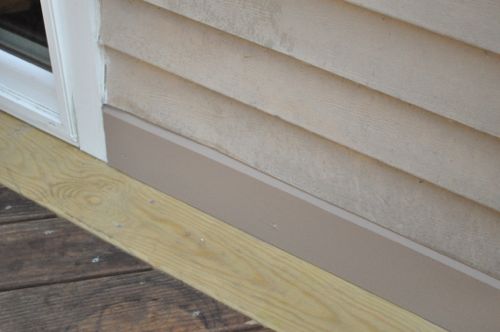
Step 8: Seal Edge
After that, the guys sealed the upper edge of the PVC board with silicone.
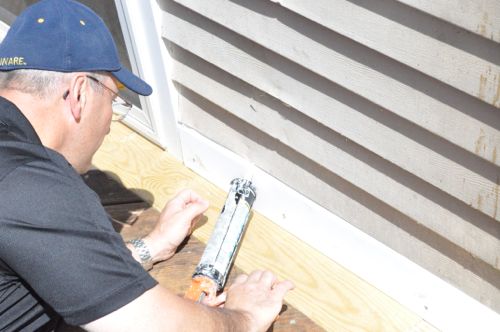
Step 9: Prime and Paint
After priming and painting the PVC board, it blends in well with the siding. The new deck boards stand out now, but that’ll change after they weather some.