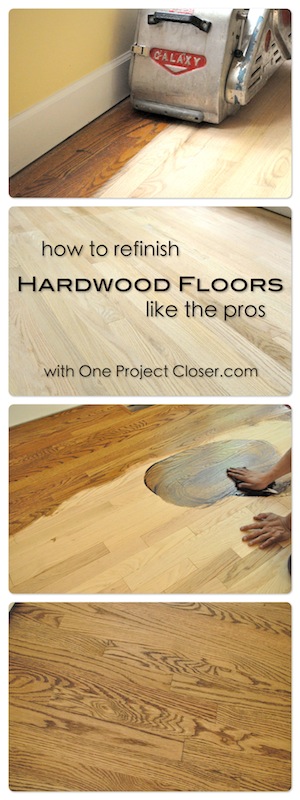
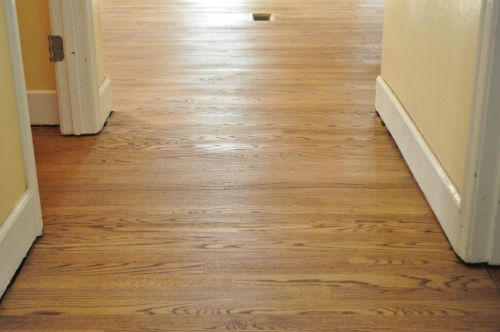
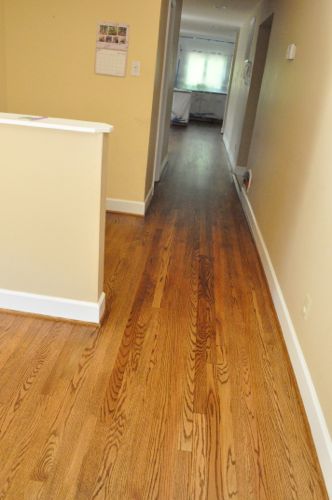
Welcome back to our latest Pro-Follow series focused on how to refinish hardwood floors. Refinishing a hardwood floor is a great way to bring new life to a floor that is showing too much wear and tear or if the finish is no longer protecting the floor. It’s also a necessary part of extending an existing hardwood floor like we showcase here.
All of our Pro-Follow articles are the result of shadowing expert, professional contractors on actual job sites. There’s no better way to learn about home improvement than straight from the guys working in the field with decades of experience under their tool belt. For this Pro-Follow, I’ve partnered with Danny Riter, owner of Signature Hardwood Floors, Inc. In this article Danny shares the tips and tricks to successfully refinish a hardwood floor. The process includes removing the old stain and finish, proper sanding progression, sanding edges and corners, applying stain, and sealing the floor to protect its beauty for years to come.
If you’re considering new hardwood floors or refinishing an existing floor and you live in the greater Baltimore area, give Danny a call. He and his crew will work with you to provide a beautiful, long-lasting flooring solution. This article is a great example of the knowledge and attention to detail Danny brings to every job. Check out his website for more details.

Tools & Materials
These are the tools and materials that Danny and his crew used for this project. If you’re taking this project on yourself, you can rent the bigger tools at your local DIY center. Links to the manufacturer product pages can be found at the end of this article in the Related Content section.
- Drum Sander
- Floor Edger
- Buffer
- Hand Scraper
- Nail Set
- Vacuum
- Floor Coater and Trim Pads
- Terry Cloth Towels
- Wood Filler
- Stain
- Shellac
- Polyurethane
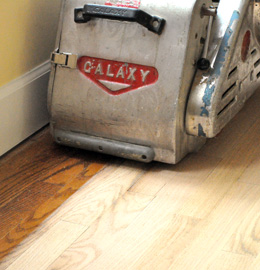
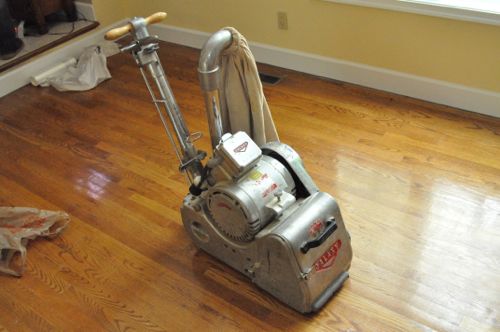
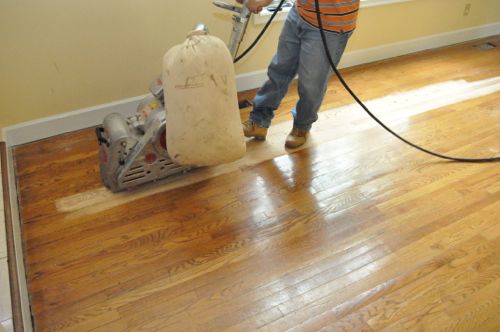
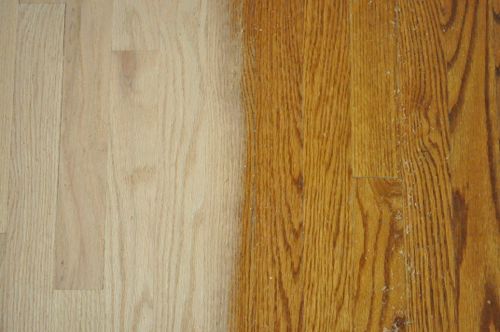
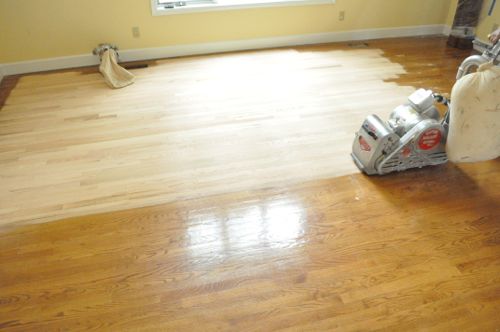
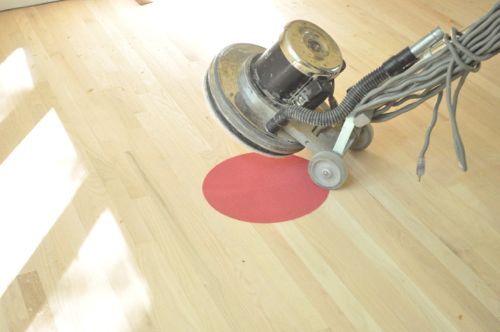
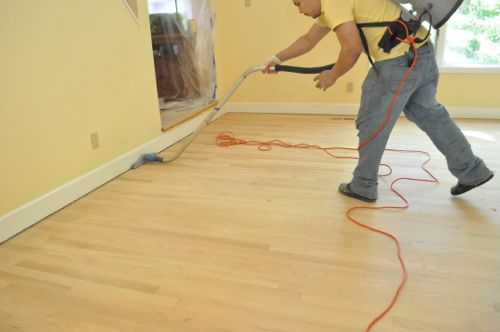
Step 1: Drum Sand Floor
To remove the majority of the existing finish and stain, Danny’s crew used an 8″ drum sander. They started off with a 36 grit sanding belt.
Pro-Tip: Some floors may only have a thin layer of hardwood material, and these floors cannot be refinished.
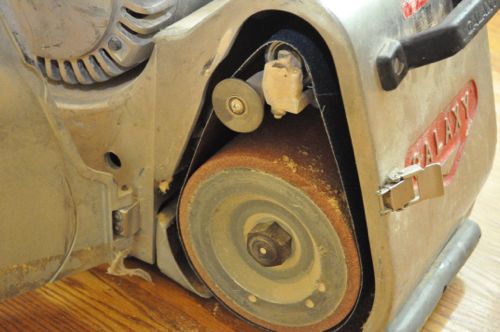
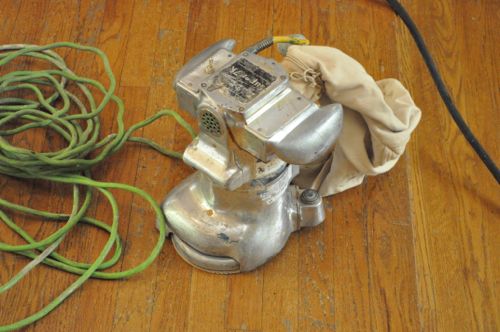
The sander is a pretty simple machine. The handle enable the operator to maneuver the sander, and the lever engages the sanding belt against the floor. The bag can swivel to either side, and it captured a fair amount of dust.
Pro-Tip: Always sand in the direction of the boards.
Pro-Tip: Always put the sander in motion before engaging the belt against the floor to prevent uneven sanding.
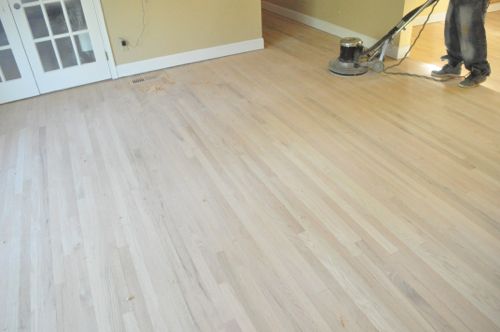
For the most part, two or three overlapping passes was enough to completely remove the old polyurethane and stain. Occasionally the guys found a low spot and had to hit it again. Danny’s crew would sand 3/4 of a room facing one direction, then sand the rest of the room facing the opposite direction.
Pro-Tip: Each sanding belt covered approximately 250 sq ft. before the guys swapped it out.
The belt sander can only get so close to walls, corners and other tight spaces. The guys were very careful not to bump the sander and thereby damage the floor. They also avoided going over the floor vent openings with the drum sander.
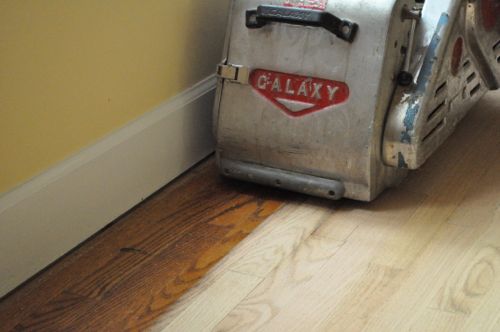
The result was about a 5″ perimeter around most rooms and the hallway. The drum sander was too large for a few of the closets so the guys couldn’t use it there either.
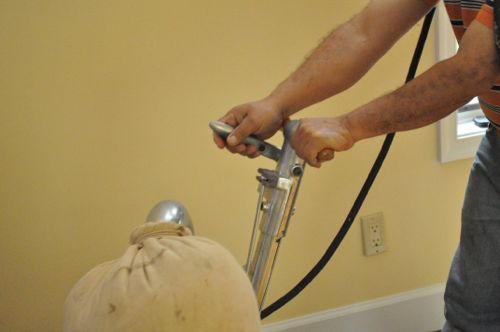
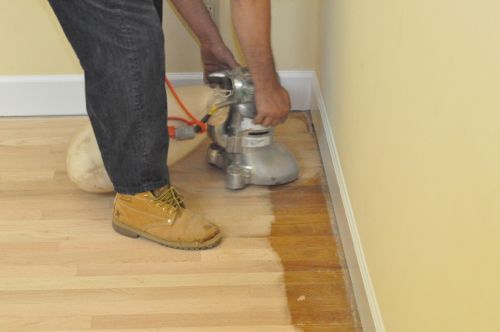
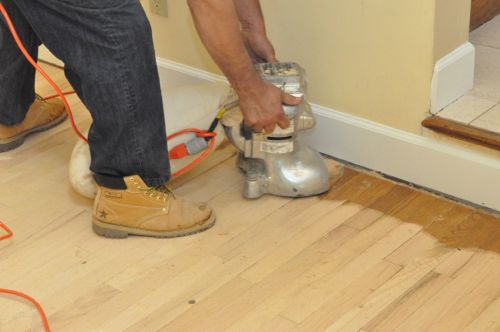
Step 2: Sand with Floor Edger
Next, Danny’s crew used a pair of floor edgers which enabled them to get right up against the walls and into areas with limited space.
Like with the drum sander, they used 36 grit sanding discs.
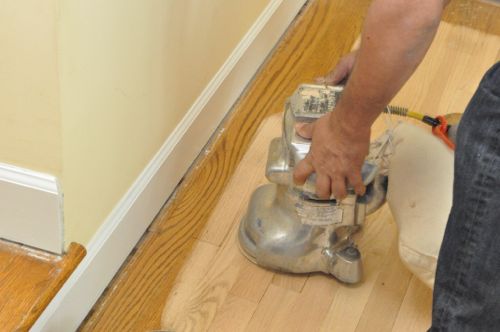
Pro-Tip: The guys double-stacked the sanding discs so that when the first one wore out, they could just rip it off and get right back to work.
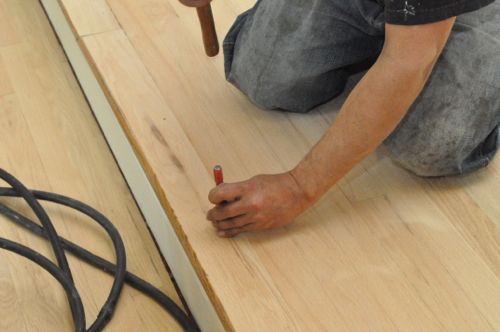
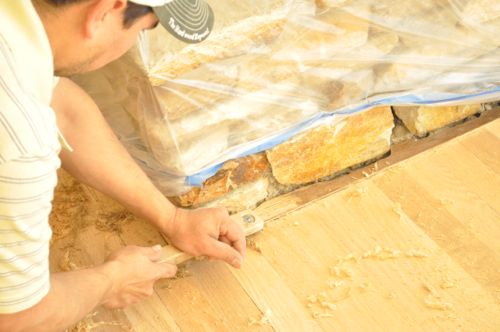
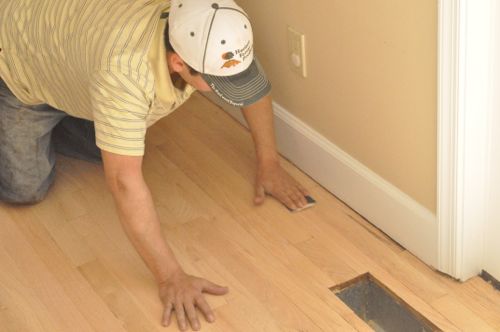
Step 3: Set Nails
Danny’s crew checked the floor for nails and used a nail set to sink them below the surface of the wood.
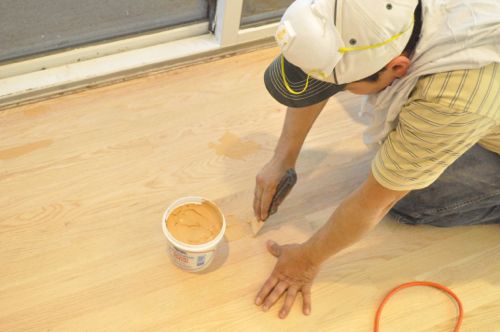
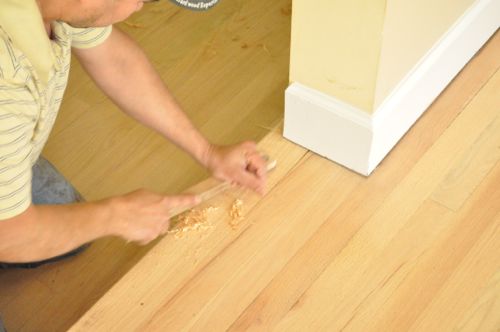
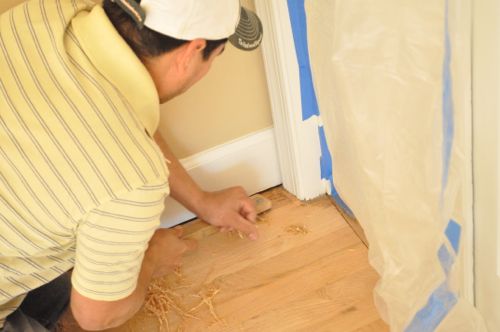
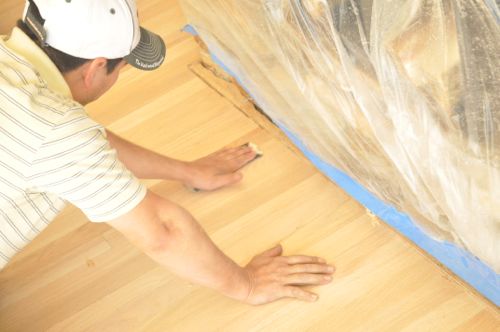
Step 4: Putty holes and Cracks
After sanding, the guys used Woodwise wood filler to fill nail holes and any noticeable cracks.
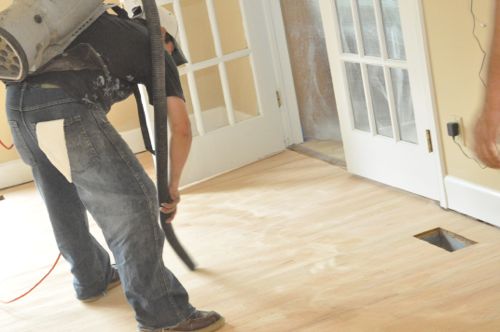
Step 5: Vacuum and Repeat
While the wood filler dried, the guys gave the floor a quick vacuum.
Next, they repeated the process (drum sander and floor edger) with 80 grit sanding belts and discs.
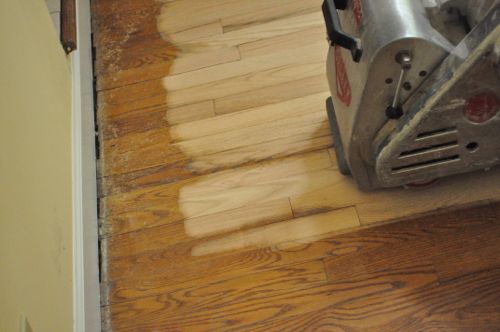
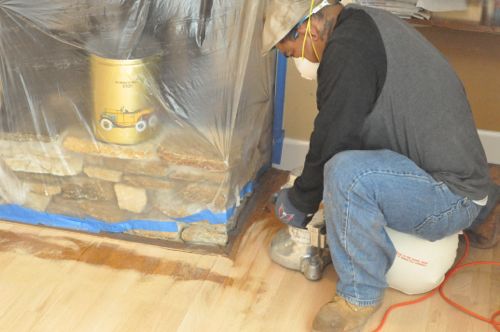
Step 6: Hand Scrape
The floor edgers move in a circular motion, and although it’s difficult to see before staining, they leave swirl marks in the floor. To remove those and get in even tighter into corners, the guys used scrapers to remove a thin layer of wood.
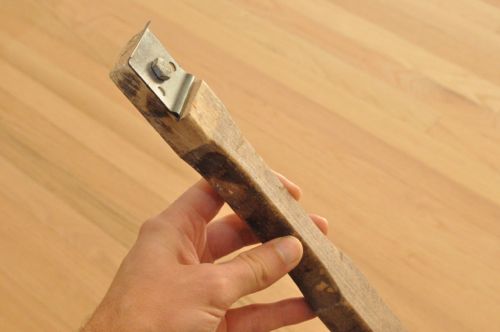
Pro-Tip: Use a file to hone the scraper edge periodically for best results.
The scrapers were also great on stair-nosing and transition strips.
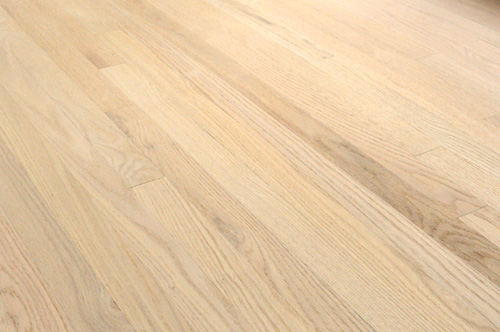
Step 7: Lightly Sand
After scraping, Danny’s crew did some light sanding with 180 grit sandpaper to ensure a nice, smooth surface. They followed this up with more vacuuming.
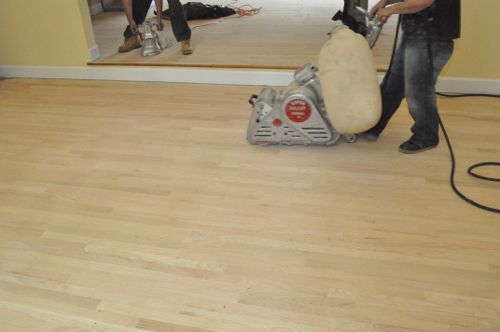
Step 8: Buff Floors
Next, the guys broke out a floor buffer and a 120 grit buffer pad. They quickly went over all the floors, getting as close to walls and corners as possible.
Step 9: Vacuum Clean
As you can imagine, all this sanding can create a significant amount of dust. Fortunately, most of their sanders have a vacuum hookup or a dust bag. Even so, the guys carefully vacuumed and dusted all the surfaces (not just the floor) to eliminate as much dust as possible. Otherwise, the dust can settle in the stain or poly and flaw the finish.
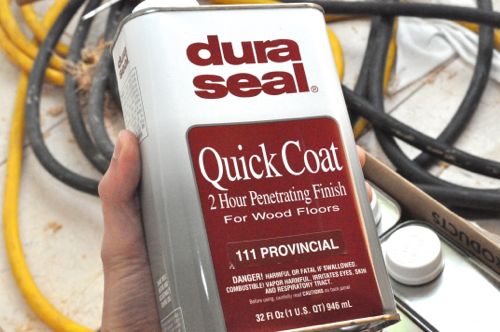
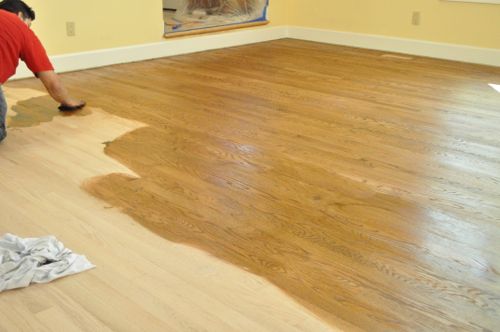
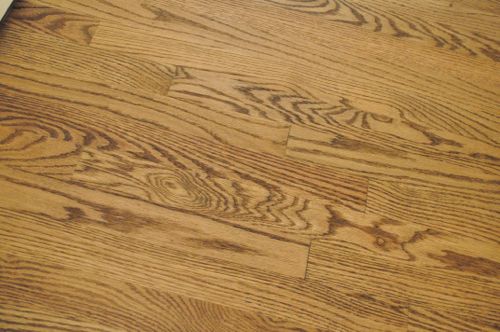
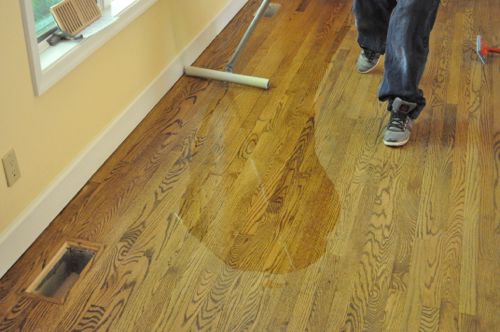
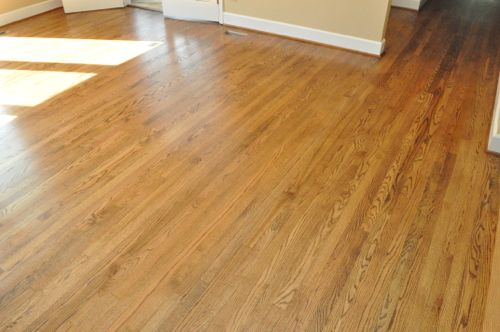
Step 10: Apply Stain
The guys applied DuraSeal Quick Coat, and the stain is called Provincial. It’s a medium brown. Some of the pictures make it look a little yellow, but that’s not the case.
Pro-Tip: Thoroughly shake the container to mix up the stain.
Danny’s crew used Terry cloth towels to apply the stain.
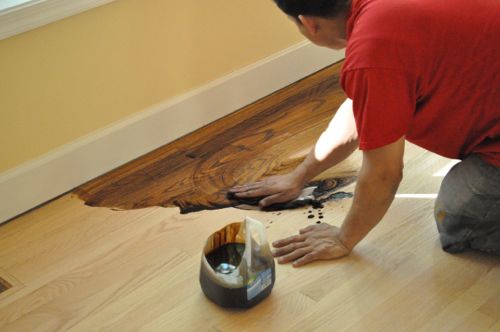
The stain only needs about 5 minutes to penetrate. After that, the guys wiped up the excess stain, wiping in the direction of the wood grain.
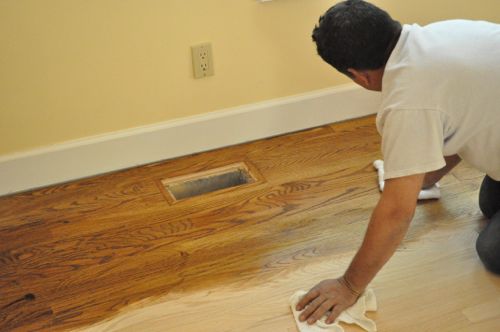
The guys worked in long, thin strips and quickly stained the wood floor.
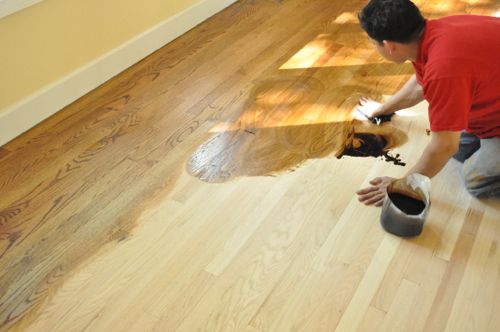
At this point, any imperfections from sanding would be much more visible, and this would be the time to fix them. Danny and his crew didn’t find any problems.
The stain was dry in about 2-3 hours.
Step 11: Apply Shellac
The guys applied a coating of shellac using floor coaters for the big open areas and trim pads for around the perimeter.

The shellac provides a seal coat that will dry hard and bond with the polyurethane.
Again, the guys worked in thin, long section, taking care to apply the shellac evenly.
The shellac is dry after about 45 minutes.
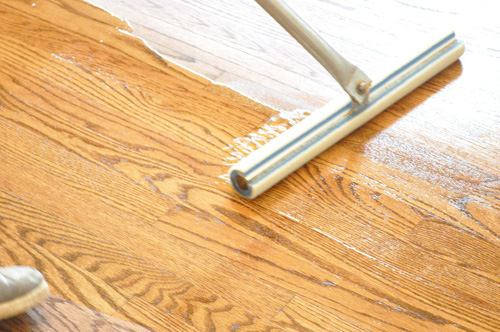
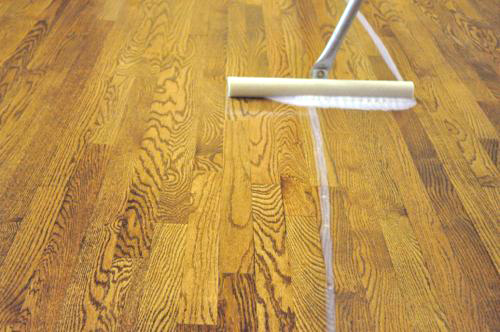
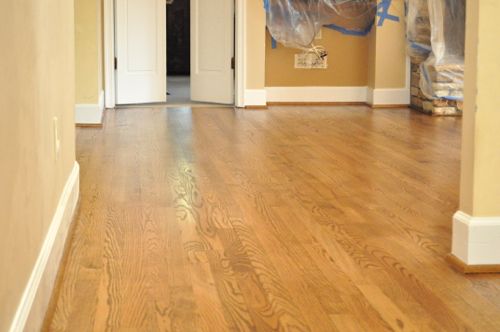
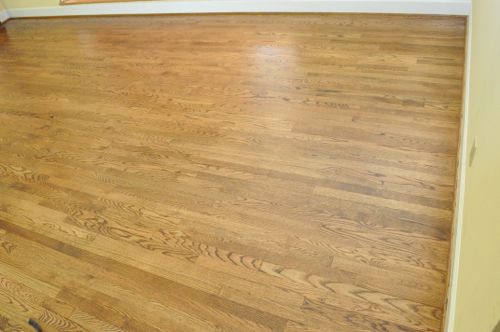
Step 12: Apply Polyurethane
Next, Danny’s crew applied Bona Mega polyurethane with a satin finish.
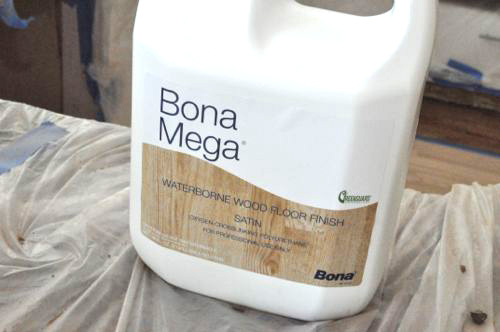
The polyurethane goes on much like the shellac, using the floor coater and trim pads. The guys applied two coats of Bona Mega, with about 3 hours of dry time in-between. This picture shows how they worked to maintain a wet edge and “snowplowed” the poly across the floor.
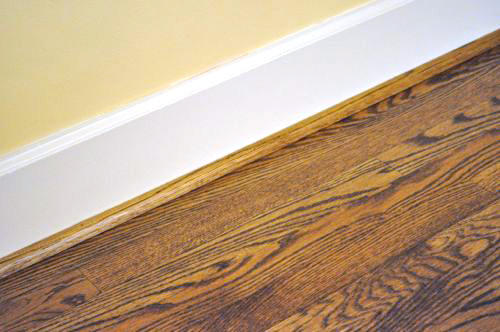
Step 13: Install Shoe Molding
After the poly was dry, the guys installed shoe molding to replace the molding that had been removed at the beginning of this job. The molding was stained and sealed just like the floor before it was installed.
Step 14: Apply Polyurethane Again
Before this last coat of poly, the guys used a screening disc and the floor buffer to abrade the floor for the smoothest results.
Pro-Talk: Screening discs are mesh screens with abrasive particles bonded to it, and they act much like sandpaper.
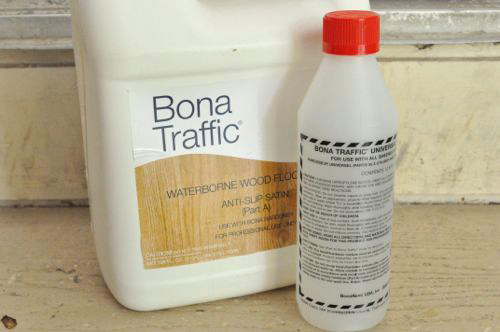
Danny’s crew applied one more coat of polyurethane, and this time they used Bona Traffic with an anti-slip component. Like the name implies, Bona Traffic is designed for high-traffic areas to provide an even more durable finish. It’s a two-part product, and once the hardener is added there’s a four hour work window. Bona Traffic is applied just like Bona Mega.
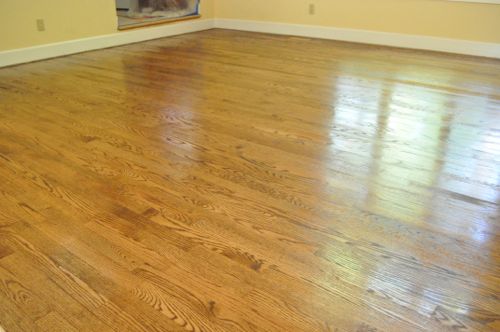
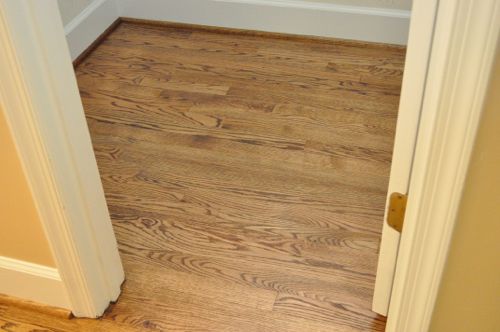
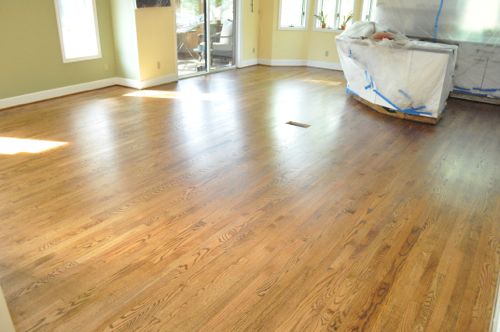
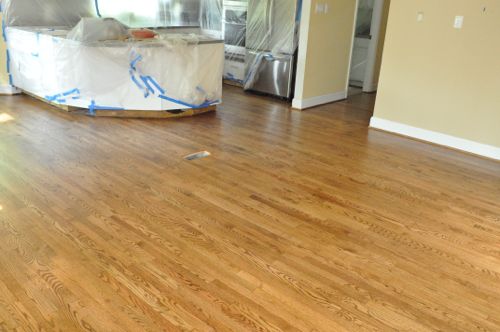
Finished
With the last coat of polyurethane applied, the floor is finished. It’ll take 7 days to reach full cure, and until that time the floor is susceptible to scuffing. Even so, the floor is ready for light foot traffic after about 24 hours.
Pro-Tip: Area rugs can slow the curing process and should not be replaced until after 7 days.
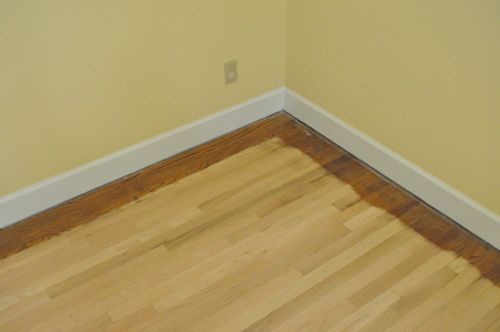
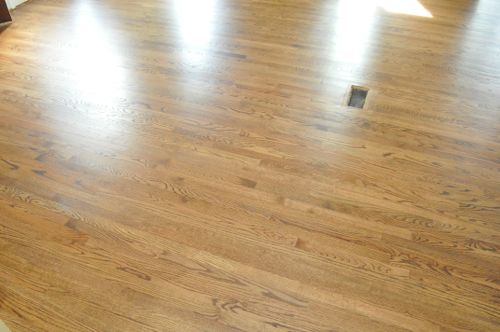
This is where the old and new floor meet, and even up close it’s very difficult to notice any transition.
Pro-Tip: Homeowners should change their furnace filter after refinishing is completed.
Interested in laying your own hardwood floor? Check out our Project Guide for Installing Hardwood Flooring to learn how.
If you’ve enjoyed this guide on how to refinish hardwood floors, give it a +1 and share it on Facebook! Thanks.